Posts

Sourdough Pancakes with Cattail Pollen

Image
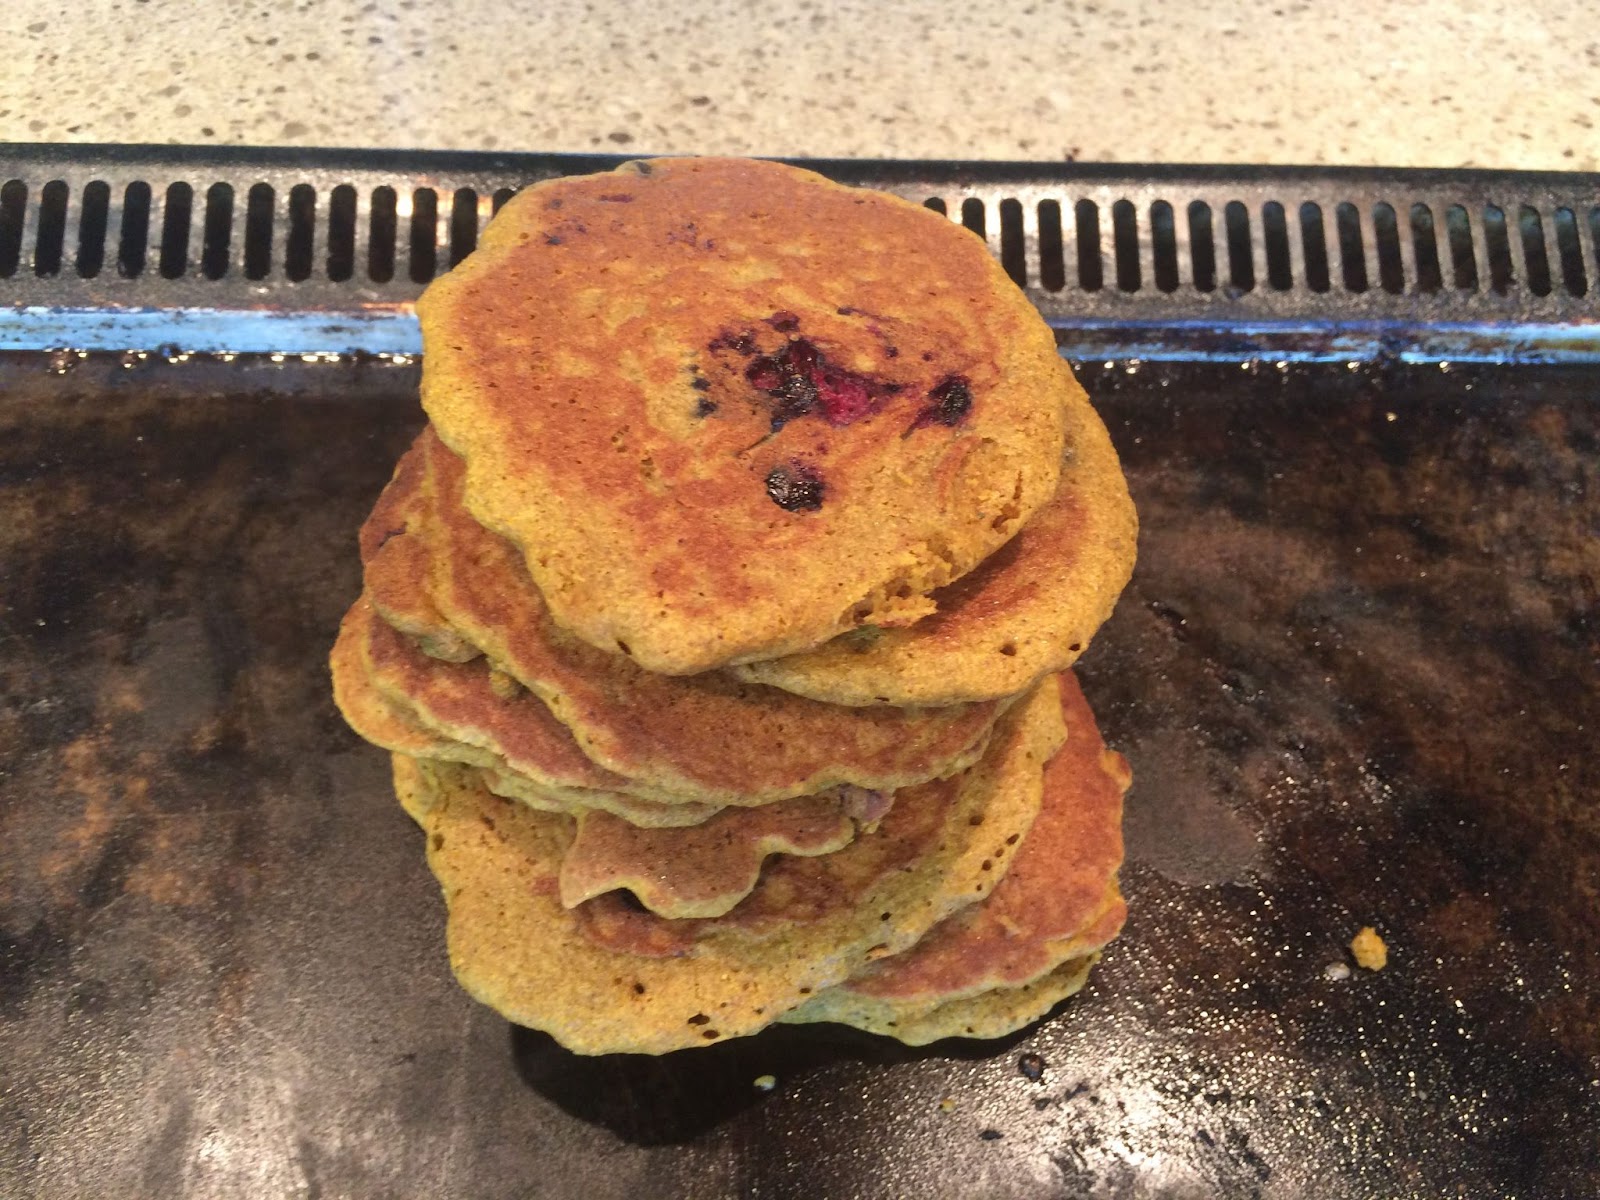
🥞Pollen Pancakes🌾 Disclaimer: This is a slightly revamped draft post from 2021, so I apologize for the less-than-great content. I will be posting last year's attempt soon. Cattail pollen came into season recently, inspiring me to create a unique twist on our traditional pancake recipe. Here's how I did it: I collected cattail pollen by shaking the heads into a bottle and later sifting it to ensure a smooth pancake texture, removing any unwanted bits. I incorporated the cattail pollen into our standard pancake batter, replacing a portion of the flour. This infusion added a distinctive and earthy flavor to the pancakes. To enhance the taste and introduce vibrant colors, I included honeyberries from our garden. These berries perfectly complemented the cattail pollen, creating a delicious and visually appealing combination. For an extra layer of flavor, I cooked the pancakes on a griddle with bacon grease. This resulted in a perfect balance between a golden, crispy exterior and a

Maple Syrup Update

Image
 🍁Huge Maple Syrup Crystal💎 There has been a crystal forming at the bottom of the maple syrup jar in our fridge. Earlier today, my sister decided to try removing it. She began by running alternating hot and cold water over the outside of the jar, being careful not to switch from hot to cold too quickly as it could crack the jar. Then she attempted to microwave the jar. Unfortunately, this caused the jar to break, but it provided us with a closer look at the ENORMOUS crystal. It is essentially homemade rock candy and tastes just like it, albeit with a delicious maple flavor!      view a 3d render of the crystal here

Maple Syruping 2021 Pt2

Image
🍁Canning Our Syrup🥞 If you haven’t already, check out my first maple syruping post  Part 1 After finishing the sap, we started the canning process. I won't go into much detail, but we sanitized some jars and lids with hot water and strained the "gunk" out of the syrup. Then we strained more syrup out of the gunk (we called this sludge, and used it in our oatmeal as a flavoring). The remaining material is comprised of gritty minerals, some syrup, and debris, which tastes okayish, but has a terrible texture like sand (it went with the compost to our chickens, lucky birds🐔). Then we ladled syrup into each jar, and finished sealing them. A couple didn't seal the first or second time, so we had to use those first. Check out my sister's posts on making and canning applesauce to learn more about the canning process.  Making Applesauce  and  Canning Applesauce . In total, we made about 4.5 gallons of sap! Maple syrup usually goes by a ratio of 40:1 sap to syrup, but ou

Maple Syruping 2021 Pt1

Image
🍁Making Syrup From Sap🥞 This spring was our 4th year of tapping our Maple trees to make syrup. This post and my next one will walk you through what we did. Several years ago we purchased several taps from a nearby nature center and have been using them since. We found about 30 usable maple trees and drilled a slightly angled hole above their largest root(preferably on the south side of the tree). This year sap started flowing out of the holes as soon as we drilled them, so we quickly pounded the taps in and hung an ice cream bucket from each. By the time we finished tapping all the trees, we had collected almost a full bucket(shown below). After just a few hours, the buckets were almost all full! The sap by itself tastes slightly sweet but by condensing the sugars, you end up with the sticky sweet liquid we all know and enjoy. Can you find all 6 sap buckets in the picture below? Several times a day, we collected sap from all the trees. We didn't worry about the small insects and

Repairing Our Deck

Image
🧹Cleaning, Resurfacing, And Painting🖌 Our deck was worn out, weathered, and starting to rot in some places, so sometime in 2019, we decided we were going to repair it. We first replaced any boards that were too rotted to use, with extra deck boards we had on hand, and scraped out the cracks between boards. Then we powerwashed the entire thing to clean it and removed any other debris with a leaf blower and vacuum. There was still old paint on the boards, so we sanded it, brushed a paint stripper on, and powerwashed again. We repeated that at least twice before beginning to fill any substantial cracks and pits with a paste filler. Then we painted a a sealant before it snowed. Last summer we powerwashed again and started sanding. After sanding everything a few times, we powerwashed one last time and were then able to begin painting. We picked a dark gray for the railings, and a light gray for the deck boards. Using both brushes and rollers, we painted everything with several layers and